How to Thin Acrylic Paint for Airbrushing: A Step-by-Step Guide
Acrylic paints are a popular medium for artists and hobbyists alike. They are versatile, quick-drying, and available in a wide range of colors. However, airbrushing with acrylic paints can be challenging, as they can clog the nozzle of the airbrush and cause splattering. To prevent these issues, it’s essential to thin the acrylic paint properly before airbrushing. In this article, we will provide a step-by-step guide on how to thin acrylic paint for airbrushing.
Understanding Acrylic Paints
Acrylic paints are water-based paints that are composed of pigment particles suspended in an acrylic polymer emulsion. They are popular among artists because they dry quickly, are easy to clean up with water, and have a wide range of applications, from fine art to crafts.
Tools and Materials Required for Thinning Acrylic Paints
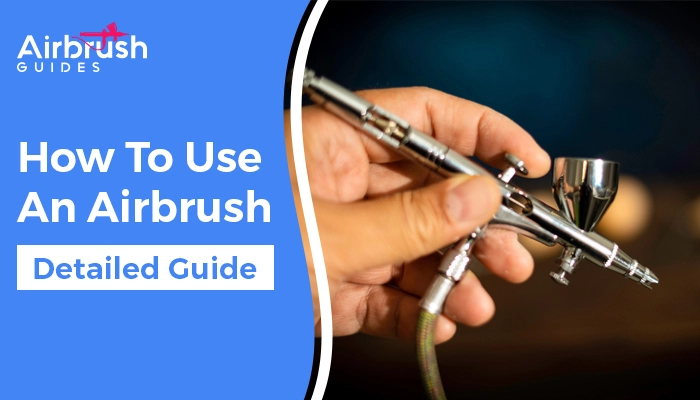
To thin acrylic paints for airbrushing, you will need the following tools and materials:
- An airbrush
- A mixing cup
- A stirring stick
- Distilled water or acrylic thinner
- A dropper
How to Thin Acrylic Paints for Airbrushing?
Follow the steps mention below to learn the right way of thinning the acrylic paint for airbrushing.
Step 1: Prepare the work area
Before you start thinning your acrylic paint, you should prepare your work area by cleaning it and ensuring that there is good ventilation. You should also wear protective gear, such as gloves and a mask, to avoid inhaling any paint fumes.
Step 2: Choose the right paint and thinner
Select the type of acrylic paint you want to thin and choose a suitable thinner. There are several types of acrylic thinners available, such as water, isopropyl alcohol, and commercial acrylic thinners. You can also experiment with mixing different thinners to achieve the desired consistency.
Step 3: Mix the paint and thinner in a mixing cup
Using a dropper, add a small amount of thinner to the mixing cup, and then add the acrylic paint in a 2:1 ratio of paint to thinner. You can adjust the ratio depending on the desired consistency of the paint.
Step 4: Stir the mixture thoroughly
Use a stirring stick to mix the paint and thinner thoroughly. You should stir the mixture until it is well-blended and smooth.
Step 5: Test the consistency of the paint
Before you start airbrushing, you should test the consistency of the paint on a piece of scrap paper or cardboard. The paint should flow smoothly and evenly, without clogging or splattering. If the paint is too thick, add a small amount of thinner and stir again. Repeat this process until you achieve the desired consistency.
Step 6: Adjust the thickness of the paint as needed
Once you have achieved the desired consistency, you can adjust the thickness of the paint as needed. If the paint is too thin, add more acrylic paint to the mixture. If it is too thick, add more thinner.
Step 7: Strain the paint before using
Before you start airbrushing, you should strain the paint using a fine-mesh strainer to remove any impurities or lumps in the paint.
Importance of Thinning the Acrylic Paint for Airbrushing
Thinning acrylic paint is crucial for airbrushing, as it affects the flow, consistency, and finish of the paint. If the paint is too thick, it can clog the nozzle of the airbrush and cause splattering, resulting in an uneven application. Conversely, if the paint is too thin, it may not adhere properly to the surface and result in poor coverage. Therefore, it’s essential to find the right balance between the viscosity and pigment load of the paint.
When airbrushing with acrylic paints, it is important to achieve a smooth and even application. This can be difficult to achieve with thick paint, as it tends to clog the nozzle and cause splattering. Thinning the paint allows it to flow smoothly through the airbrush, resulting in a consistent application. It also helps to prevent overspray and reduce the amount of paint wasted.
Thinning acrylic paint for airbrushing also allows for greater control over the paint application. Thinned paint can be applied in thin layers, allowing for more control over the depth and intensity of the color. This can be particularly useful for creating gradients and other subtle effects.
In addition, thinning acrylic paint can improve its adhesion to the surface. When the paint is too thick, it can create a barrier between the surface and the paint, resulting in poor adhesion. Thinning the paint allows it to penetrate the surface, creating a stronger bond and better coverage.
Overall, thinning acrylic paint for airbrushing is a crucial step in achieving a professional and polished finish. It allows for greater control, better adhesion, and a more even application. By taking the time to properly thin your acrylic paints, you can achieve stunning results with your airbrushed artwork.
FAQs:
- Can I use tap water to thin acrylic paint for airbrushing?
It is not recommended to use tap water to thin acrylic paint for airbrushing as it may contain impurities and minerals that can affect the quality of the paint. It is best to use distilled water or an acrylic thinner.
- How much thinner should I add to acrylic paint for airbrushing?
A: The amount of thinner to add depends on the consistency of the paint and the desired result. As a general rule, a 2:1 ratio of paint to thinner is a good starting point. You can adjust the ratio as needed to achieve the desired consistency.
- Can I use rubbing alcohol to thin acrylic paint for airbrushing?
Rubbing alcohol can be used to thin acrylic paint for airbrushing, but it should be used in moderation as it can cause the paint to dry too quickly and may affect the quality of the paint.
Conclusion
Thinning acrylic paints for airbrushing can be challenging, but it is essential to achieve the desired result. By following the steps outlined in this article about how to thin acrylic paint for airbrushing and using the right tools and materials, you can achieve a smooth, even application with your airbrushed acrylic paints. Remember to test the consistency of the paint before airbrushing and adjust the thickness as needed. With practice and experimentation, you can achieve beautiful results with your airbrushed acrylic paints.


