How To Airbrush Cake? A Step-By-Step Guide For Beginners
Are you tired of the same old frosting techniques on your cakes? Do you want to add some excitement and color to your baked creations? Look no further than airbrushing! Airbrushing is a technique used in cake decorating to create beautiful and unique designs with food coloring using an airbrush gun. In this article, we’ll teach you how to airbrush cake, including techniques, tips, and FAQs.
Airbrushing a cake may seem intimidating at first, but with the right guidance, it can be a fun and rewarding experience. Whether you’re a professional baker or just someone who loves to bake for fun, airbrushing can give your cakes a professional touch that will make them stand out from the rest. In this article, we’ll take you through the steps of how to airbrush a cake, from choosing the right airbrush and colors to preparing your cake and creating beautiful designs.
How To Airbrush A Cake: Fast and Easy Method
What You Need Before you start airbrushing your cake, you’ll need a few things:
- Airbrush kit: This includes the airbrush gun, compressor, and hose.
- Airbrush colors: You can use airbrush colors specifically designed for cake decorating or regular food coloring.
- Fondant-covered cake: Fondant works best for airbrushing, but you can also use buttercream as long as it’s chilled and firm.
- Stencils (optional): You can use stencils to create patterns or designs on your cake.
Preparing Your Airbrush:
First, assemble your airbrush kit according to the manufacturer’s instructions. Then, fill the airbrush gun with your chosen color. To do this, pour a small amount of color into the airbrush cup and mix it with alcohol or water to achieve the desired consistency. Test the color flow by turning on the compressor and pressing the airbrush trigger. If the color is too thick, add more alcohol or water. If it’s too thin, add more color.
Adjusting Air Pressure:
Air pressure is an important factor in airbrushing. You can use the compressor to increase or decrease the flow of air. It’s important to test your airbrush on a piece of paper or a spare piece of fondant before you start airbrushing your cake to ensure that the color is flowing smoothly and evenly.
Airbrushing Techniques:
There are many different techniques that you can use when airbrushing a cake. One common technique is fading, where you gradually blend one color into another. To achieve this effect, you can start by airbrushing the lighter color, and then gradually add the darker color, blending as you go. Another technique is stenciling, where you use a stencil to create a pattern or design on your cake. To stencil, simply hold the stencil in place and airbrush over it with your chosen color. You can also use freehand airbrushing to create your own unique designs on your cake.
Here is a quick tutorial video showing how to airbrush a cake;
How to Airbrush a Cake Without an Airbrush
If you don’t have an airbrush kit, you can still achieve a similar effect by using a simple tool that you probably already have in your kitchen – a spray bottle. Here’s how to airbrush a cake without an airbrush:
Things you will need:
- Spray bottle
- Food coloring
- Alcohol or water
- Stencils (optional)
Fill the spray bottle with a mixture of food coloring and alcohol or water. You can experiment with the ratio of food coloring to liquid to achieve your desired color. Shake the bottle well to mix the solution.
Airbrushing Techniques:
Hold the spray bottle about 6 inches away from your cake and spray the color onto the cake in short bursts. You can also use stencils to create patterns or designs on your cake by holding the stencil in place and spraying over it with your chosen color.
Tips and Tricks
- Practice on a spare piece of fondant or paper to get a feel for the amount of pressure needed to achieve the desired effect.
- Be sure to protect your work surface and surrounding area from any overspray.
- If you make a mistake, you can remove the color by dabbing the area with a paper towel dipped in alcohol.
While airbrushing with a spray bottle may not give you the same level of control as an airbrush gun, it can still be a fun and easy way to add color and interest to your cakes. Don’t be afraid to experiment with different colors and techniques to create your own unique designs.
Do you know you can airbrush your shirts to create stunning designs? Read the complete process here.
How to Make Edible Spray Paint For Cakes
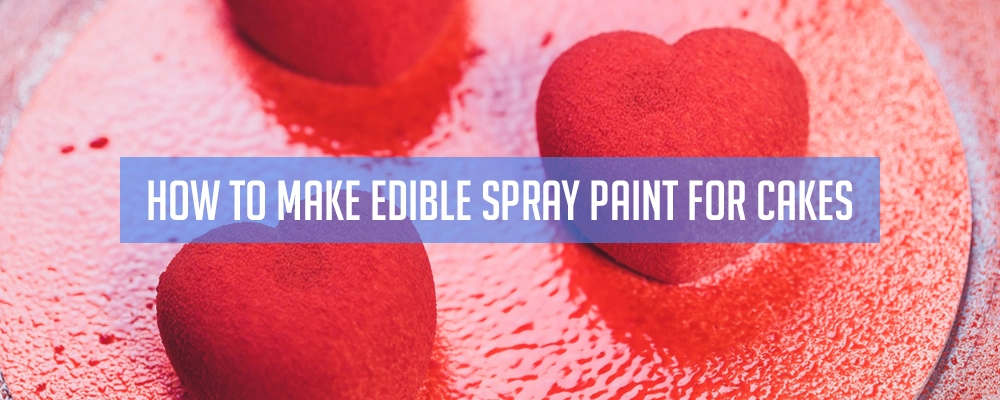
Edible spray paint is a fun and creative way to decorate cakes, cupcakes, and other desserts. Making your own edible spray paint is surprisingly simple and allows you to customize the color and flavor of your creations. Here’s how to make your own edible spray paint for cakes:
Ingredients:
- 1/4 cup of food coloring
- 1/4 cup of vodka or clear vanilla extract
- 1 teaspoon of cornstarch
- 1 clean spray bottle
Instructions:
- In a small bowl, mix together the food coloring and vodka or clear vanilla extract.
- Add the cornstarch to the mixture and whisk until it is fully combined.
- Pour the mixture into a clean spray bottle.
- Shake the spray bottle vigorously before each use to ensure that the ingredients are fully combined.
Tips:
- You can use any food coloring of your choice to make your edible spray paint. Gel food coloring works best.
- If you don’t have vodka or clear vanilla extract, you can use lemon extract or another clear alcohol.
- The cornstarch helps to thicken the mixture and prevent the colors from bleeding.
- Test the spray on a piece of paper or cardboard before using it on your cake to make sure that the color and spray consistency are what you desire.
- Be sure to clean the spray bottle thoroughly after each use to prevent the mixture from clogging the spray nozzle.
In conclusion, making your own edible spray paint is easy and allows you to add a unique touch to your baked creations. With a little bit of creativity, you can use this technique to make your desserts look like works of art.
FAQs about How to Airbrush Cake
Q: Can I airbrush a buttercream cake?
Yes, you can airbrush a buttercream cake, but it’s important to make sure that the buttercream is chilled and firm before you start airbrushing. This will help prevent the buttercream from smudging or melting.
Q: What kind of colors should I use for airbrushing?
You can use airbrush colors specifically designed for cake decorating, or you can use regular food coloring. Just be sure to dilute the colors with alcohol or water to achieve the desired consistency.
Q: How do I clean my airbrush after use?
To clean your airbrush, you can rinse it with warm water or cleaning solution. Be sure to disassemble the airbrush and clean all of the parts thoroughly to prevent any leftover color from clogging the nozzle or airbrush gun.
Conclusion
Airbrushing a cake can be a fun and creative way to add color and dimension to your baked goods. By following these tips and techniques, you can achieve professional-looking results that will impress your friends and family. Don’t be afraid to experiment with different colors and designs to create your own unique cakes. Happy airbrushing!